Generate
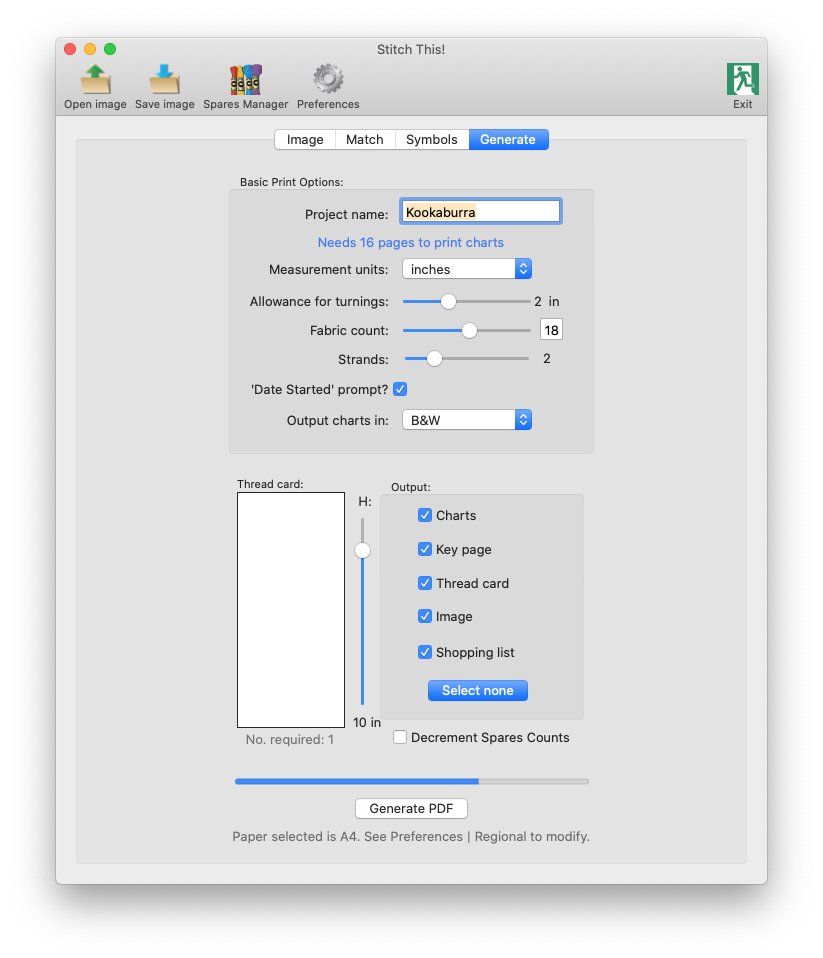
Most of the options should be fairly self-explanatory. The Project name defaults to the name of the image you opened (minus the file type suffix) - but can be changed here for the output.
If the units and other selections on this tab are not what you would choose, you should visit the
Preferences
option first - which will then keep the selections you make for this and any future projects.
The 'Date Started' prompt? option, when selected, will output a prompt for you to enter the date you started work on that page of the output - should you wish to keep track of how long you took to complete each page.
If you wish to output the charts in colour, select Colour from the Output charts in: popup. This will take rather longer to generate the output, but will show each square on the grid as the colour, overlaid with the symbol for that colour.
If you choose to utilise the Thread Card organiser for your project, here you can specify the height it will be output - this enables you to set its size so that it will fit within the tin or other container in which you keep your materials while you're working on your project. If that makes it is too small to fit all the colours on, it will generate more than one.
The Output options detail which types of page will be generated on your output PDF:
- The Charts should be self-explanatory.
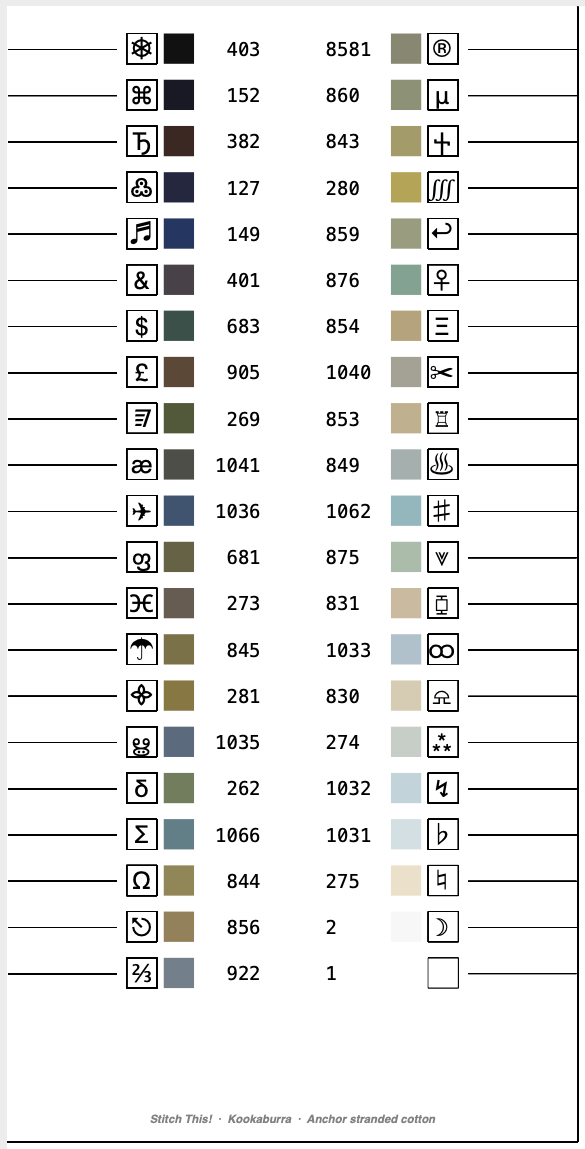
- The Key page is a largely informational page which analyses each colour in the charts, by number of stitches, percentage of total, approximate number of skeins required for the whole project, etc.
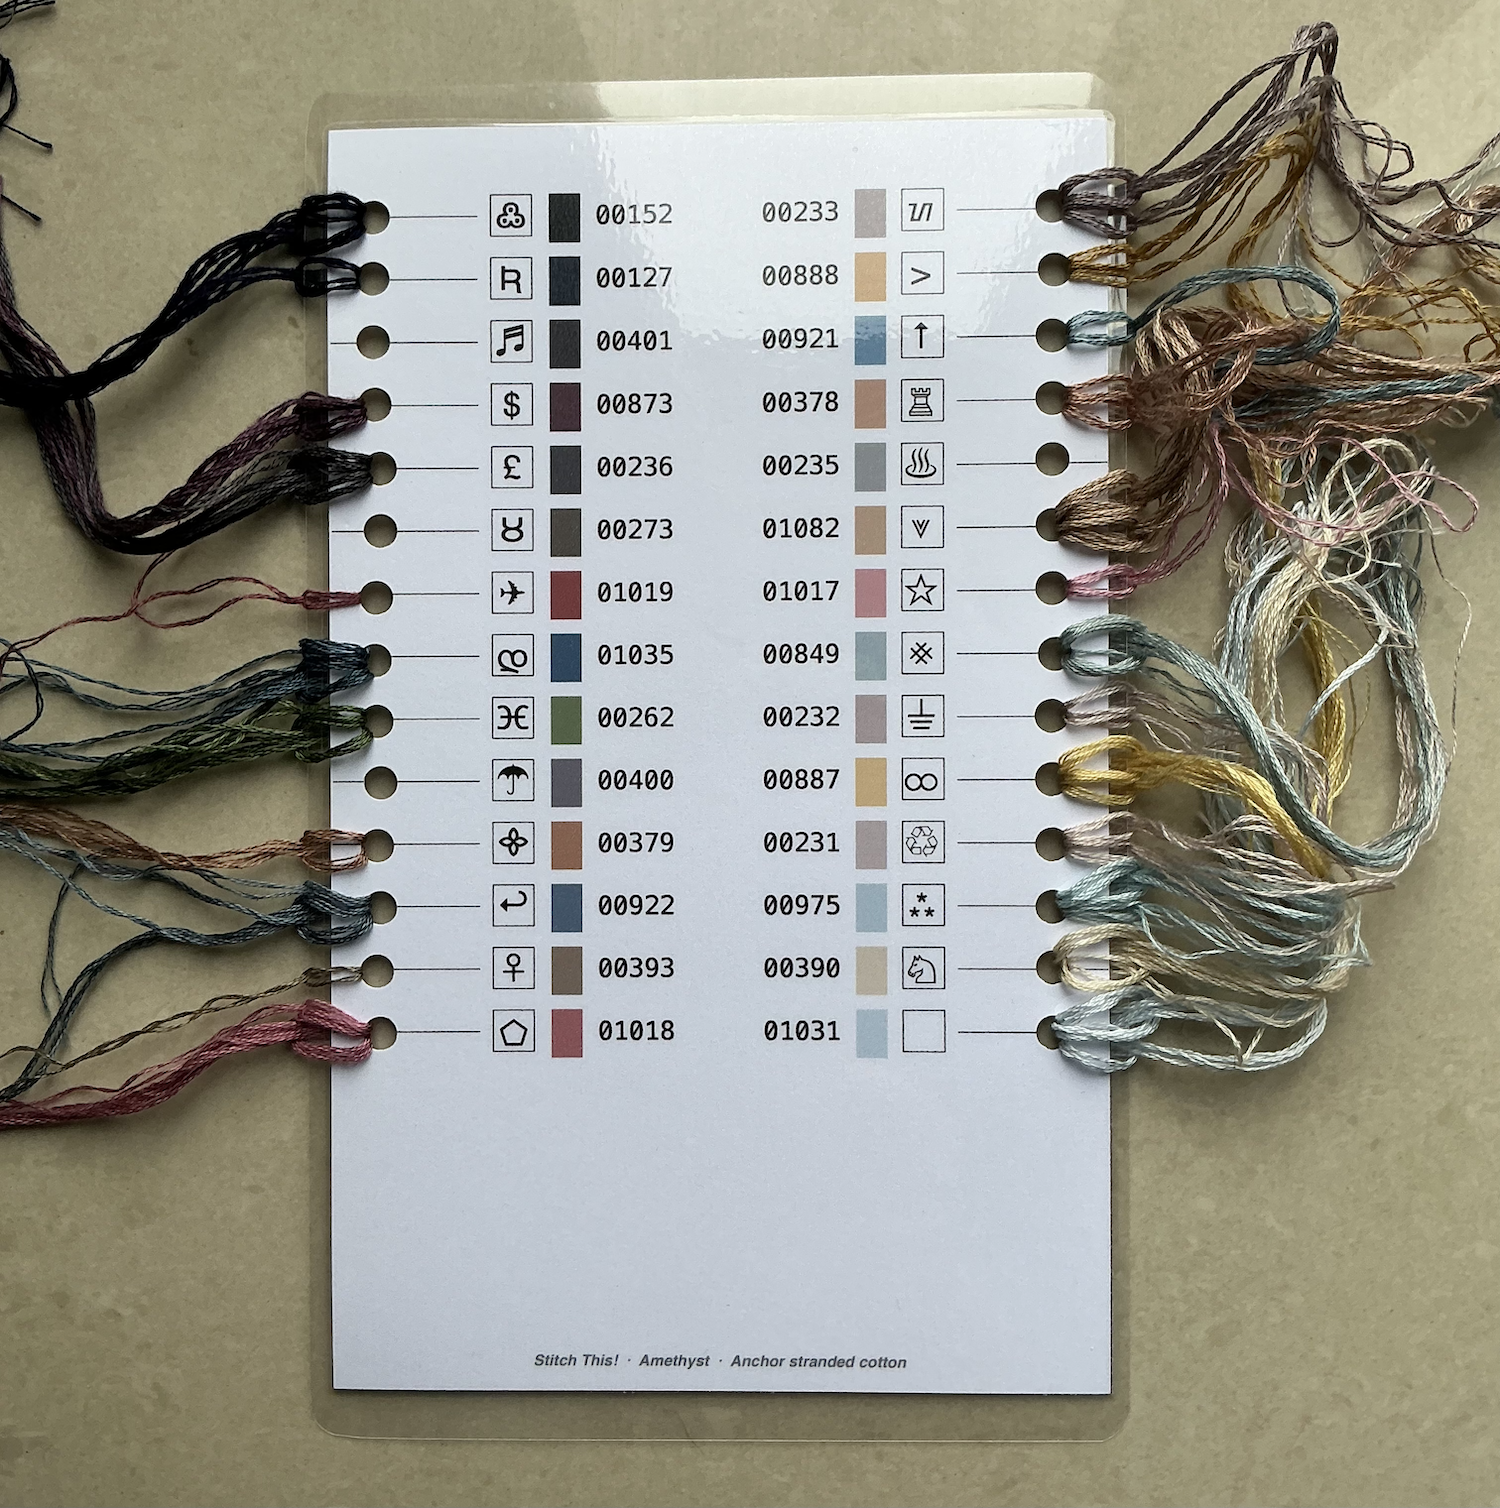
- The
Thread card
is a thread organiser which you can print out (preferably on card) and possibly laminate - on to which you can thread partially used lengths of thread while you are working on the project. Just use a standard hole-punch once it's printed.
- The Image is a full-page reproduction of the image itself, for reference - with the resolution and colour range you selected.
- The Shopping list is a page which lists the dimensions of the fabric required, given the selections you have made earlier, and the threads you will need to buy, to get started. If you have utilised the
Spares Manager
, it will also highlight those that you already have - so that you don't end up needlessly buying them again.
The Decrement Spares Counts checkbox should only be selected once you are certain that this is the generated output for this image that you will use, since it will subtract the threads in this project from those entered in your
Spares Manager
.
Once you are happy with all the selections you have made, click Generate PDF, and await your output!
By default, the output will be stored in the same place that the original image was found - but you can change that as part of the Save As dialog that appears when clicking Generate PDF.