Match
The resized and colour-reduced image generated in the Image tab will be carried forward to the left pane of the Match tab, with the right image blank:
Choose the range of threads and the number of colours you want to use.
You can choose from Anchor, DMC, Lecien Cosmo or Madeira stranded cotton ("floss"), or Anchor or DMC tapestry wools.
Enter the number of colours you would ideally like to work with, and click Match. Perhaps try starting with around 40 colours, and see whether much colour fidelity would be lost; if so, try a number higher than that; if not, try a lower one - until you have the least colours without significant loss of picture quality.
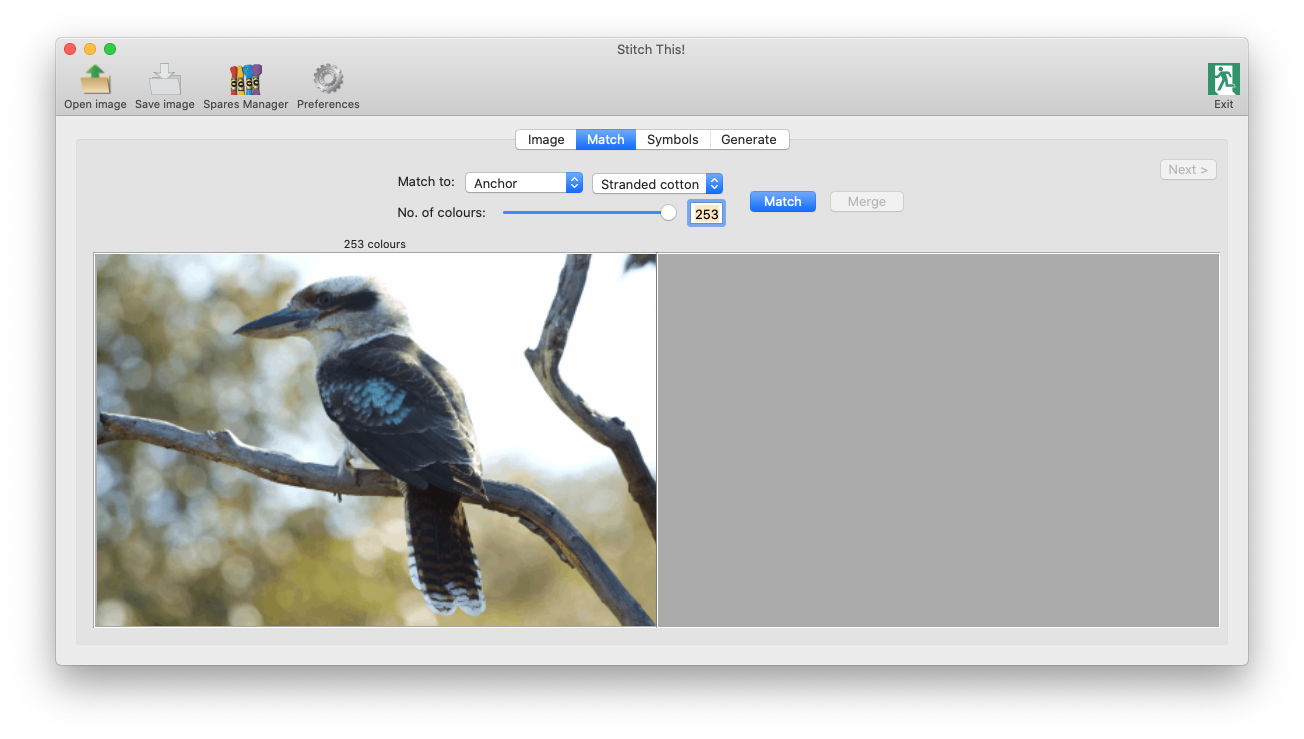
To the right will appear the image with colours from that thread range, and the number of colours (or possibly less) that you have chosen:
The quantity could be a few less than the value you supplied, because more than one shade from the image could be closest match to the same thread colour.
From this point onwards, you can select the Save image option in the toolbar at the top of the window, should you wish to keep the image with the reductions you have made up to this point. It will save the image as a .BMP file
.
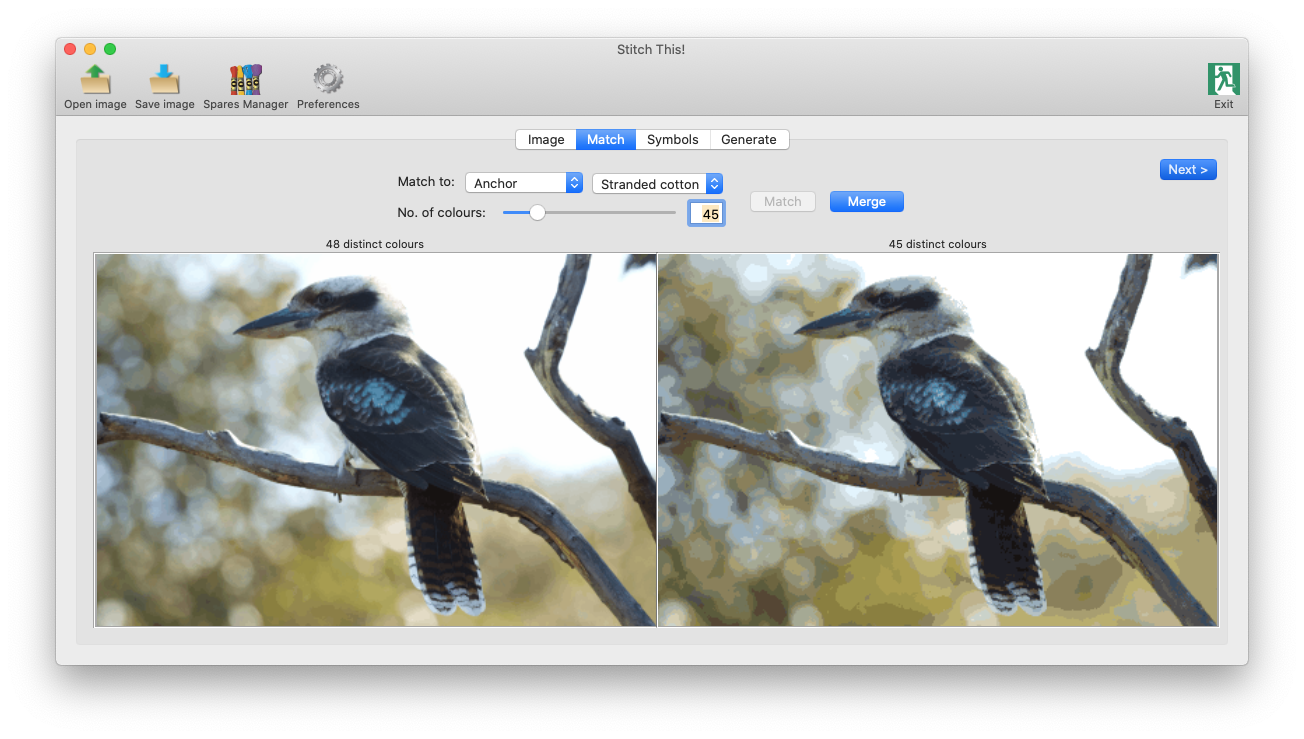
At this point, the Next > button will be enabled - so that you can move on to the next step if you're happy. However, there is another colour reduction step you could possibly take: the Merge button has also been enabled. Click on this, and a window similar to the following will appear:

Here you can further reduce the number of colours to create a workable project.
A threshold is enterable, which is precalculated at 1.5% of the total - on the assumption that any colour which represents less than that would be an insignificant loss if merged with its nearest neighbour.
You can change the threshold if you wish, to include more or less than that, and click Apply for it to recalculate.
To the left, the number of stitches of that colour is displayed, alongside the colour in the image's current palette - and to the right, the nearest colour to it. Sometimes these appear dissimilar - as in the first entry in the illustration above. The colour-matching process is a combination of lightness as well as shade.
Between the two is an arrow. By clicking this arrow twice (once to select the row it's on, and again to make the change), it will change to an ╳ , as in the image above - signifying that that you do not wish that colour substitution to be made. You can do this to prevent certain colours from being merged - which although they may be a very small proportion, are still significant to the image itself. Clicking it again will revert to an arrow. (If you've moved on to another colour in the meantime, you may need to click it a second time.)
All the colour substitutions identified by an arrow will be made when you click OK - so ensure that you have scrolled through the full list of colours before you do (there could be more to review if the window is full).
Clicking on Cancel will reject all substitutions and retain the image as it is now. Clicking OK will merge those colours with an arrow present, and ignore those with an ╳ .
Once completed, you are now ready to proceed to the next step - which can be accessed either by clicking on the
Symbols
tab in the tab set at the top, or clicking the
Next >
button.